
How to Decorate Wood Panel Walls Using LED Ceiling Lights: A Simple Guide for Indian Homes
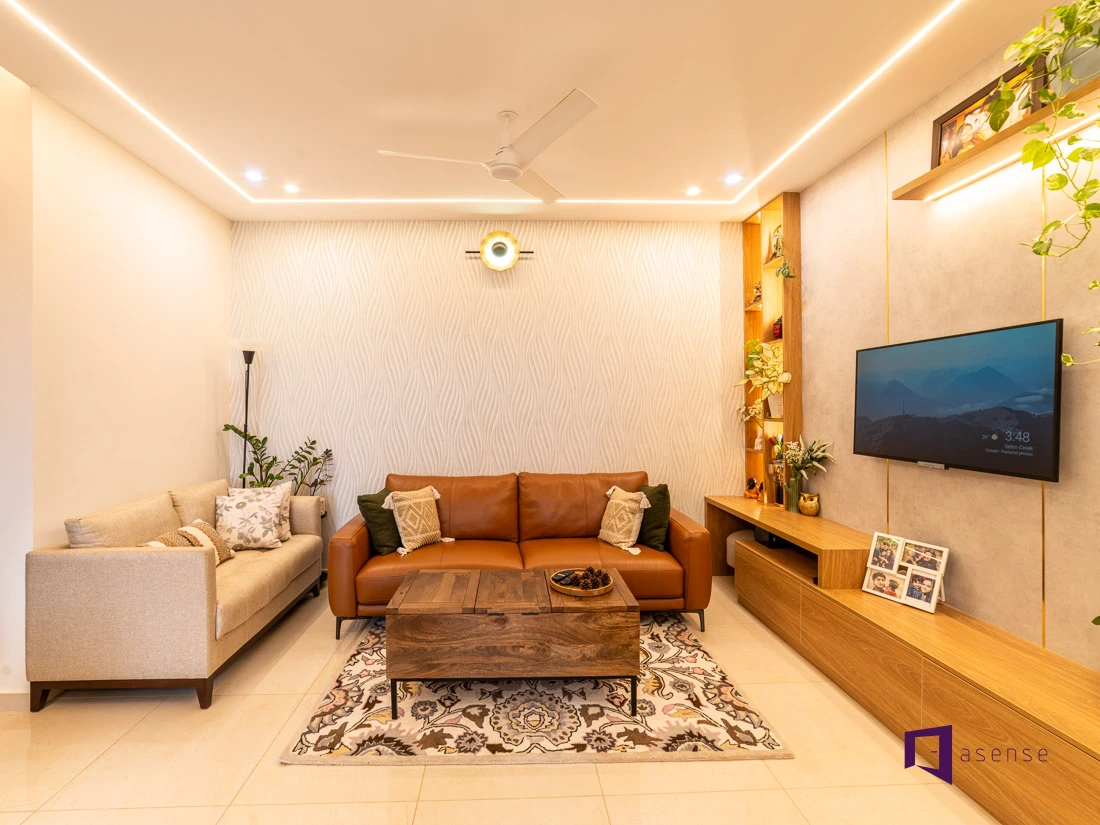

Wooden panel walls bring warmth, texture, and elegance to any room. Whether you have wooden cladding in your living room, bedroom, or hallway, it can completely transform your space. But to truly highlight the beauty of wood, the right lighting is key. LED ceiling lights are one of the best ways to enhance these walls — they make the grain of the wood stand out, add depth, and create a cosy, stylish atmosphere.
If you’re planning to combine wooden panels with lighting, this easy-to-follow guide will show you how to decorate wood panel walls using LED ceiling lights, strip light options, and other clever lighting tricks. From layout planning to connecting the lights, we’ll walk you through every step in simple language.
- Get Your Wood Panels and Lights Ready
Before you begin, you need to prepare both the wooden wall and your chosen indoor light fixtures. Make sure the wood panel wall is installed properly and securely. If the wood is rough or unfinished, consider sanding and polishing it first to bring out the natural grain.
At the same time, decide what type of LED ceiling lights or strip lights you want to use. Do you want soft white lights for a warm, cosy feel? Or do you prefer cool white or daylight tones for a modern, bright look? For a dramatic effect, LED strip lights can be added along grooves or borders of the wooden panels, while ceiling-mounted spotlights or downlights can highlight specific sections of the wall.
- Map Out Your Lighting Design
Once your wall and lights are ready, it’s time to plan your lighting layout. This is an important step to make sure your lighting enhances the look of the wooden wall, rather than overpowering it.
- Decide if you want direct or indirect lighting.
- For a minimalist look, mount the LED ceiling lights in a way that they gently illuminate the wall with soft light from above.
- If you’re using strip lights, they can be hidden behind wooden trims or placed along panel borders to create a glowing frame.
- Consider placing ceiling spotlights at equal distances or in a pattern that highlights key features of the wood panelling.
It’s helpful to sketch a rough diagram of your wall and ceiling before drilling or mounting anything. This will give you clarity and help avoid mistakes.
- Smooth and Clean the Wooden Wall Surface
For a neat and safe installation, make sure the wooden panel wall surface is clean and dry. Remove any dust, cobwebs, or loose particles. If you’re planning to mount lights directly on the wall, ensure the wood surface is flat and not oily or uneven.
If the wooden panels are unfinished, you may want to polish or apply a coat of clear varnish. This not only improves the appearance but also protects the wood from heat and moisture.
- Mount the LED Ceiling Lights with Care
Now that your wall is ready and you have your layout plan, it’s time to install the LED ceiling lights. Depending on your design, this could include flush-mounted ceiling lights, recessed downlights, or track lighting that can be directed towards the wall.
If you’re installing strip lights, measure the required length first. Most LED strips come with adhesive backing — just peel and stick them along the chosen areas on or around the wooden panels. For added safety and neatness, you can also place strip lights inside aluminium channels or plastic covers.
Use proper tools such as a drill, screwdriver, and mounting clips or brackets if required. Always make sure the lights are securely fastened and not hanging loosely.
Safety Tip: If you’re unsure about drilling into wood or connecting electrical parts, consider hiring a qualified electrician to help with the installation.
- Power Up and Enjoy the Glow
After mounting the lights, the final step is to connect them to a power source. This might involve connecting wires to an existing switchboard or using a plug-in adapter, depending on the type of light.
Make sure the power is switched off before connecting the wires. Double-check all the connections to ensure safety and functionality. Once everything is secure, turn on the power and see your wooden panel wall light up beautifully.
With the right placement, your LED ceiling lights will enhance the rich textures and tones of the wood, turning a simple wall into a glowing feature.
Bonus Tips to Elevate Your Indoor Lighting Décor
- Use dimmable LED lights for flexibility in brightness levels.
- Add layers of lighting — mix indoor light options like floor lamps or table lamps with ceiling-mounted LED lights for a balanced look.
- Choose warm tones (2700K–3000K) for living areas and bedrooms, and cool tones (4000K–6500K) for kitchens or workspaces.
- Hide cables neatly using cable covers or trunking to maintain a clean finish.
Final Thoughts: A Touch of Elegance with the Right Light
Decorating wooden walls with LED ceiling lights is a simple and cost-effective way to elevate your interiors. It adds mood, character, and charm to your room while highlighting the natural beauty of wood.
Whether you’re revamping your living room, creating a cosy reading nook, or setting up an accent wall in your bedroom, the combination of wood and lighting always delivers timeless elegance.
So go ahead — pick your favourite ceiling light design and bring your wooden wall to life with the perfect indoor light setup.